Monday, January 23, 2012

Hard Boiled Eggs

Hard boiled eggs... really? 

Yes, really. 

A few weeks ago I had a craving for deviled eggs and every time I went to boil my eggs I kept boiling them either too long or not long enough and was so frustrated. 

Since when could I not boil a bloomin' egg?  I've boiled eggs plenty of times before.

But I noticed I wasn't boiling eggs the way other people perfectly boiled their eggs.  So, onto the internet I went to learn how to boil the perfect "hard" boiled egg.

Apparently I'm not the only one who has had this problem.  There are tons of instructions out there for soft, medium, and hard cooked eggs.  

And here is the perfect way to boil an hard boiled egg.

1.  Bring your eggs to room temperature before cooking.

2.  Gently place the eggs in a single layer in a pan with enough cold water to cover eggs completely.  Approximately one inch of water over eggs.

3.  Over high heat, bring water JUST to a rapid boil.  As soon as the water reaches a rapid boil, remove pan from heat and cover egg pan tightly with a lid. 

4.  Set timer for 17 minutes for large eggs or 20 minutes for jumbo eggs.

5.  After 17 or 20 minutes, remove lid and drain water from the eggs.

6.  Transfer the eggs to a bowl of ice cubes and cold water after the cooking time is over.

7.  Let eggs cool at least 10 minutes in cold water, then drain. 

And then you have perfect, simple, hard boiled eggs. 


Pin It!

Friday, January 13, 2012

Front Door / Entry Way

So last week I posted photos on stripping the front door and limestone around the entry way.  It was a messy job.... and that "somebody" that had to do it, was me.

I didn't post photos of the front door at that time, because it still wasn't finished.

The front door has been a huge thorn in my side.  Originally when I stripped it, I let it dry out for months and then primed it and started painting it with Benjamin Moore's Heritage Red.  It was a great color, but I was a little dissapointed in the finish.  It wasn't as glossy as I wanted.  I thought I would just "deal with it"... until some strange hazy areas started showing up on our door.

I went to our Benjamin Moore store and talked to the owner about what might be going on.  He came out to the house a few days later and said everything looked fine... just use a fine steel wool, sand it lightly and re-coat it a couple of times.  Well...  FYI... that didn't work! 

When one opinion might not work... get a second.

So, I went to another Benjamin Moore store, talked to the owner and another guy there and they came up with.... HARK!!...  the door must be seeping sap.  It's an old door, it is pine, and when I stripped the paint.... it might have started releasing sap again... which I did not know... is normal they said. 

So they suggested I finely sand it down and use this...


They said to paint it on as my primer and it should lock out the sap or whatever might be trying to seep through.

At this point I wanted to go a little above and beyond to be safe, so I coated the door twice... thick.

And, since I wasn't happy with the finish my original paint gave me, they guys at Benjamin Moore mixed up a glossy latex... and they worked on the color to get it as close to the Heritage Red as possible.  It wound up being a tad bit brighter, but good since our door is recessed a little and doesn't get much sun directly on it.

Here is the finished result... as of right now.... with the limestone and front door...


As you can see, we haven't chosen new hardware for the door yet.

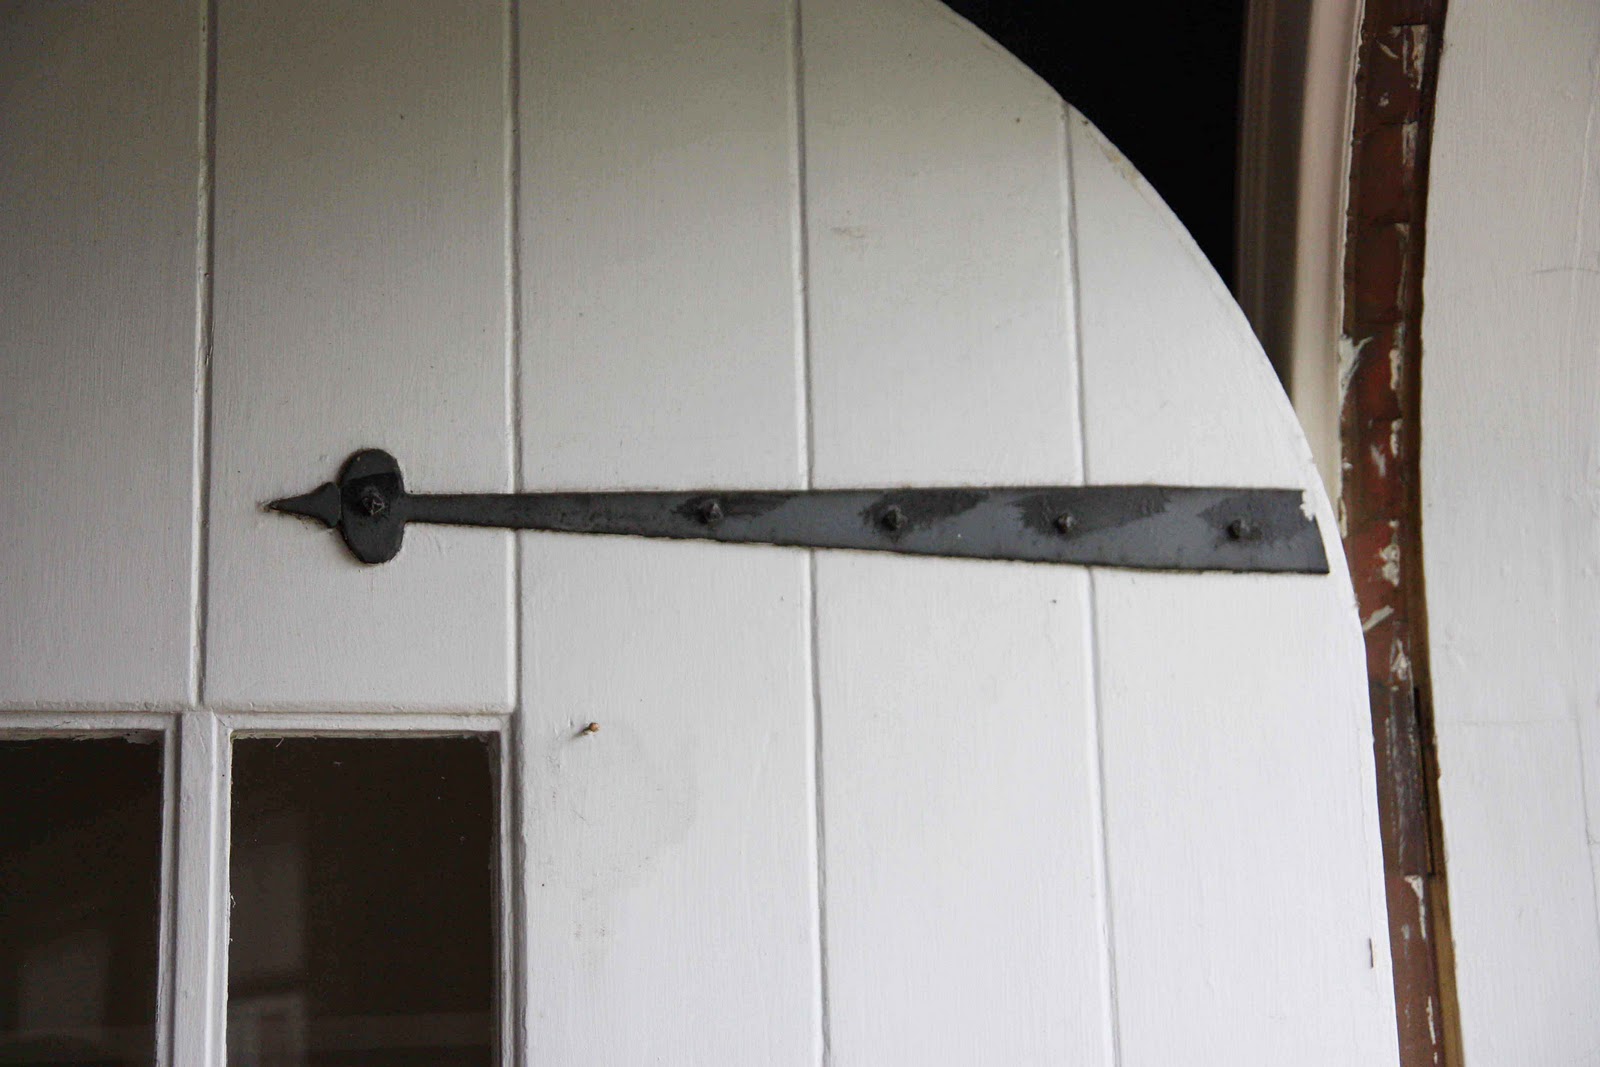
Here is the original hardware on the door before we re-finished it...


Hank refinished the long hinges, handle and door knocker.... but we're not totally sure what we're going to do.  We'll definitely reuse the long hinges, but might replace the door handle with something larger and nicer.  We're looking around, but things are really pricey... or maybe we just have expensive taste.  Go figure...

As you can see in the photo, the porch is a disaster, so we have to paint that too.  That will give the front a major facelift.   We also need new sconces on either side of the door.  We also need a sidewalk from the driveway to the front door.

Need.  Need.  Need.

Give it time right?  Everything takes time and money!!  But thank goodness.  We have color to our front door and things are starting to look more presentable on the front of the house!  :)


Pin It!

Tuesday, January 10, 2012

Ten on Ten : January 2012


 Fresh flowers in the house are so cheerful!


Had to get outside and play before the rain.  Expelling energy is very important around here...


I haven't had any taste for coffee.  Well, that isn't totally true.... I mean, if it's a Pumpkin Spice Latte or a Quad Venti Extra Hot Peppermint Latte from Starbucks.... I might be tempted.... but at home, it's just a hot cuppa tea....


 I literally dug around our attic for 30 minutes today searching for this book... only to come downstairs and find it in my son's dresser drawer.  You can never start getting prepared too early... I don't care what you say.  This book was a lifesaver with our son as an infant!


I'm only 29 weeks, but look as though I'm about to POP !!!


Going to make egg salad.  I guess it can be a healthy snack, right?


Had another recipe/photo accepted on Foodgawker.  It was a challenge to get photos accepted on this site!


Such a good doggie....


Make me stop eating!!!


So I got the decorations off... but the trees are still in the house...

ten on ten button small
Pin It!

Monday, January 9, 2012

Cheddar Cheese Biscuits

Everyone loves Red Lobster's cheddar biscuits.  They are so yummy and there are tons of people out there who make them at home.  I'll admit... I've always gotten the dollar packet at the store and put my water in and viola... garlic cheddar biscuits.  And I will quickly admit, they are great.  But, it's time I made the real thing.

With all the ingredients on hand already, these were so quick to make.  They were just as good as the packet from the store and when warm right out of the oven, they are just as good as Red Lobster's.

So... it's a win-win situation, right?

Let's bake them!

Preheat oven to 400 degrees.

Combine Bisquick, garlic powder and cheese in medium bowl.  Stir in milk until just combined.  Drop dough onto cookie sheet and bake for 10 minutes.


While biscuits are baking, melt the butter and stir in parsley and garlic salt.

After 10 minutes, brush the butter mixture onto the biscuits.

 
Bake the biscuits for an additional five minutes or until golden brown on top.


Serve warm.  Super yummy!!

All that was missing was a huge platter of Florida seafood!!!!!!!!!

Ingredients:

2 cups Bisquick mix
1/2 teaspoon garlic powder
1 1/2 cups shredded cheddar
2/3 cup milk
2 tbsp butter
1 tsp dried parsley
1 tsp garlic salt


Pin It!

Thursday, January 5, 2012

No Fail Pound Cake

Pound cake.  So simple.  So good.  So easily eaten mostly by a seven month pregnant lady.

I went to the doctor today for my routine check-up.  I stepped on the scale.  Then I quickly stepped off the scale.  My husband says, "What did it say"?  I don't care if he knows.  But I'd rather not know.  The nurse chimes in, "Only five pounds in the last month... that's good".  I say, "Is it?".... (sarcasm... I'm pretty sure she didn't get it...)  Then she says, "You know.... you have to eat during the holidays.... all that good food." 

Right.  I get that.  But I didn't plan on being Shamu's twin and feeling like a beached whale.

OK, that is a little extreme.  But... really.... I hate the gaining weight part.

But you know what I do love?  I SERIOUSLY do love eating.  It's all my fault.

So, when I made this, like I've made it many times before, I thought it would last a few days and we would take a slice here and there for a sweet taste, etc.  But by the time it baked and sat around for one day, I had demolished it down to about a three inch slice.  I actually had the audacity to say to my husband when he came home from work, "You better eat that or I'm throwing it away."  I mean.... really?  Did it really matter at that point???

But it's good... and it's simple... and it's the perfect "not-too-sweet" to have around.

I think it's a pretty popular recipe similar to others I've seen online.  But here is the recipe anyway.

Make it.  But I would advise sharing it....  :)


Ingredients:

1/2 lb butter
1 3/4 cup sugar
5 eggs
2 cups cake flour
1 tsp vanilla

1.  Preheat oven to 350 degrees.

2.  Cream butter slowly.

3.  Add sugar and continue beating at low speed for 10 minutes.

4.  Add eggs one at a time, beating after each addition.

5.  Add flour and flavoring.  Mix thoroughly.

6.  Turn temperature down to 300 degrees when you put cake in oven.

Bake for 1 hour and 15 min.  (possibly a few minutes shorter.... check with toothpick!)


Pin It!